
Welcome back to the blog, fellow creatives! Every Wednesday I’m hopping along with the Brutus Monroe Inspiration Team and creating with the theme of the week. This week’s theme is COLOR CRUSH! We are all creating projects using the color palette we have been challenged with:

I have to admit, I never thought about combining greens and purples, but the result is so dreamy and beautiful! After playing around with the colors for a bit, I decided to create a dreamy, cloudy sky background.


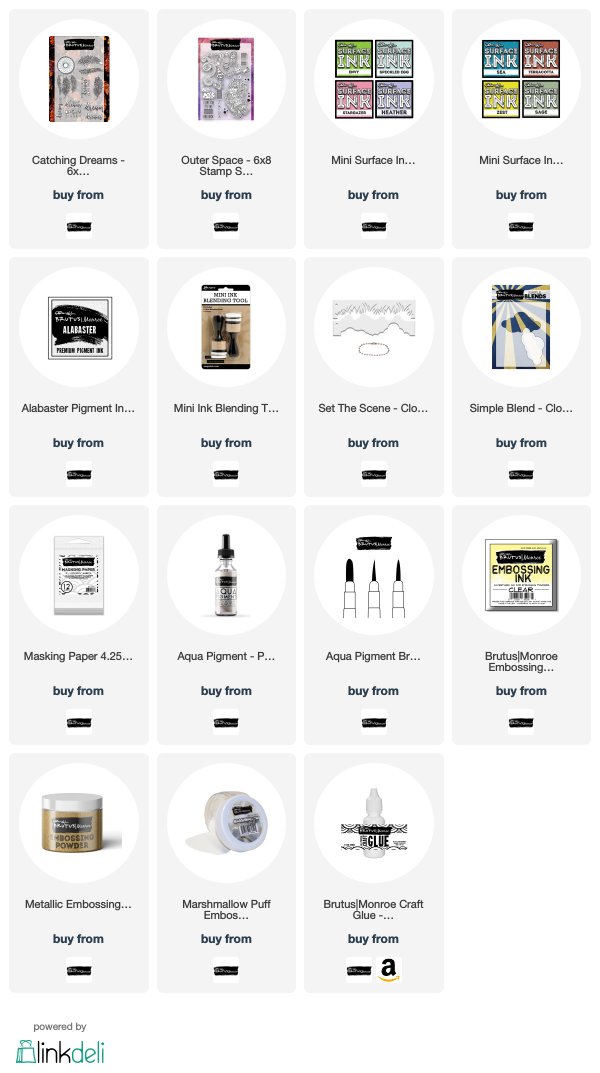
I began by using the Surface Ink colors, SPECKLED EGG, SEA, and PLUM. I blended them from lightest to darkest, starting in the bottom right corner. These colors blended together so well!
Next, to create a cloud background, I drew some curved, cloud-like shapes onto some Brutus Monroe MASKING PAPER and then cut it out. I used the masking paper as a stencil, and applied ALABASTER WHITE PIGMENT INK over it. Brutus Monroe does have a CLOUD STENCIL that would work well for this, but I do not have that stencil so the masking paper was a great alternative.


I wanted to add some shimmery splatters over the background, so I splattered on some PEARL AQUA PIGMENT with a WATER BRUSH and then let it dry.
For the clouds, I stamped the cloud images from the OUT OF THIS WORLD stamp set and embossed them in MARSHMALLOW FLUFF EMBOSSING POWDER. I then fussy cut them and arranged them around the sentiment.


The sentiment is from the DREAM CATCHING stamp set. I stamped it onto white cardstock and embossed in GLIDED. Then, I used the new RAINBOW QUARTZ TRIANGLES from Nuvo to add some glimmery confetti to the background.
Since I was loving this color combo so much, I decided to create a small and simple pocket page for my planner with this same palette. I love adding some fun pocket pages to my planner to highlight photos that are special to me.


I used one of the pocket pages that are included in my Heidi Swapp planner and filled one of the pockets with the RAINBOW QUARTZ TRIANGLES. I then sealed up the pocket using my FUSE TOOL. Underneath the shaker pocket, I added a piece of white cardstock that I ink blended these colors on.
I then added my photo and a few embellishments. I like to use my SPROCKET pocket printer for planner photos, especially when traveling! This Sprocket is so easy to use to print photos off of my phone, and you can even add fun frames and images like I did here.

So that is my project(s) for today! I hope you enjoyed the card inspiration AND the bonus pocket page! Please follow the list of links below to hop along to the rest of the team’s blog posts. They are all so talented! Happy hopping!
MARIE <—YOU ARE HERE

Wow Marie this is beautiful, wow!
LikeLike
Thank you Ivelisse! I think Ill be making a few more of these backgrounds, I love these colors!
LikeLike
Wow! Marie that card is dreamy!!!
LikeLike
Thanks so much, Ashley! I think its my new favorite background! 😀
LikeLike
I love the softness of the clouds! The photo page is amazing too. Perfect design and balance!
LikeLike
Thanks so much! So glad you like the card… I had fun making this one!
LikeLike
Love the card. Well both projects
LikeLike
Thank you so much!!
LikeLike