
Hey, friends! Welcome back to the blog! Im excited to be taking part in this Shine Bright Blog Hop with Pear Blossom Press today! There are so many talented crafters in this hop, so don’t forget to check out the list of names at the end of this post.
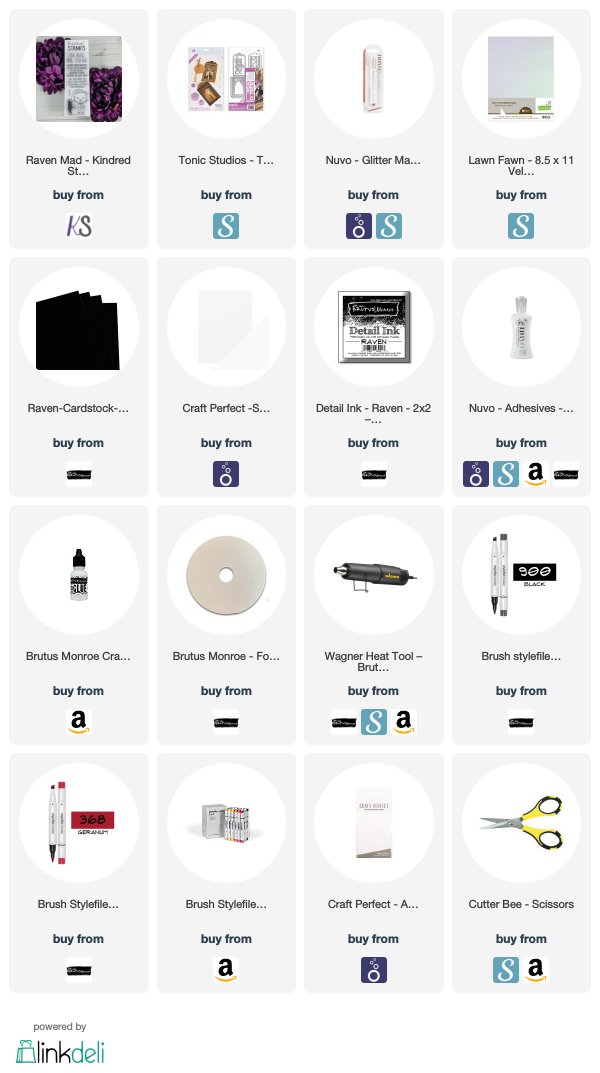
For my card, I used the RAVEN MAD stamp set from Kindred Stamps. There is a sentiment in this set that I thought fit just perfectly for the theme of this hop!


I began my card by stamping out the character image from the stamp set with my Raven Detail ink. Then, I colored it in using Stylefile Markers. I fussy cut the guy, and set him aside.
I used some dies from Tonic to create the forest window in my card panel. I wanted a sort of spooky nighttime forest scene, so I also cut the forest trees again in black and layered them over the window.


To create the red window, I took some vellum and colored over it with the Fired Brick Glitter Marker from Nuvo. This created a glittery red window for my card that the light from the power pack can light up.
I then stamped the sentiment, and added my colored and fussy cut character.
I added the front panel to my card base with a double layer of foam adhesive, so I could hide the battery, light, and copper tape that is hidden underneath.

When you are building a circut for your light up cards, you want to make sure all your copper tape is securely touching each other, so there are no breaks in the circut. Other than that, it is super simple! You just figure out where you want the light, button, and battery to go, and then connect them all with the copper tape; making sure to connect the positive with the positive, and the negatives with the negatives. I have all of this process in my video above, so if you need a clearer look at that, please watch the video!
Thanks for stopping by today! I hope this hop is inspiring to you! Please continue hopping by following the list below!
Marie Heiderscheit <—- YOU ARE HERE
Until next time,
Marie Nicole

Your card is hilarious and so much fun!
LikeLike
Love love Love!
LikeLike
This a wonderful card, the dies you used are awesome. The powerpacks look so easy to put together too. Looks like I am going to have to get the powerpacks as they are so much fun!
LikeLike
That is so very cute.
I’ve never tried one of these
So cute
LikeLike
Very cool!
LikeLike
Nice job. I would love to try this out. I like your scene…
LikeLike
Fantastic card Marie! The red glow of the forest is such a neat idea for this guy! Excellent video too!!!
LikeLike
Cards looks awesome. Love the sentiment!!❤️❤️
LikeLike
Fun card!
LikeLike
I like the red forest, perfect with this stamp set.
LikeLike
Love your fabulous, fun card. Definitely one I would like to try.
LikeLike
Fun card! Love the way it looks when it lights up!
LikeLike
What a great card! Love the light up and love this character from Kindred Stamps!
LikeLike
Great card with the eerie forest scene and funny sentiment. I like your product recommendations too.
LikeLike
so cute
LikeLike
Love the light up card. Truly love the stamp set that you used and the sentiment is right up my alley! Looking into adding that stamp set to my stash.
LikeLike